Configure Azure Integration in Barista
Required Role: Barista Admin
- Log in to Barista Admin:
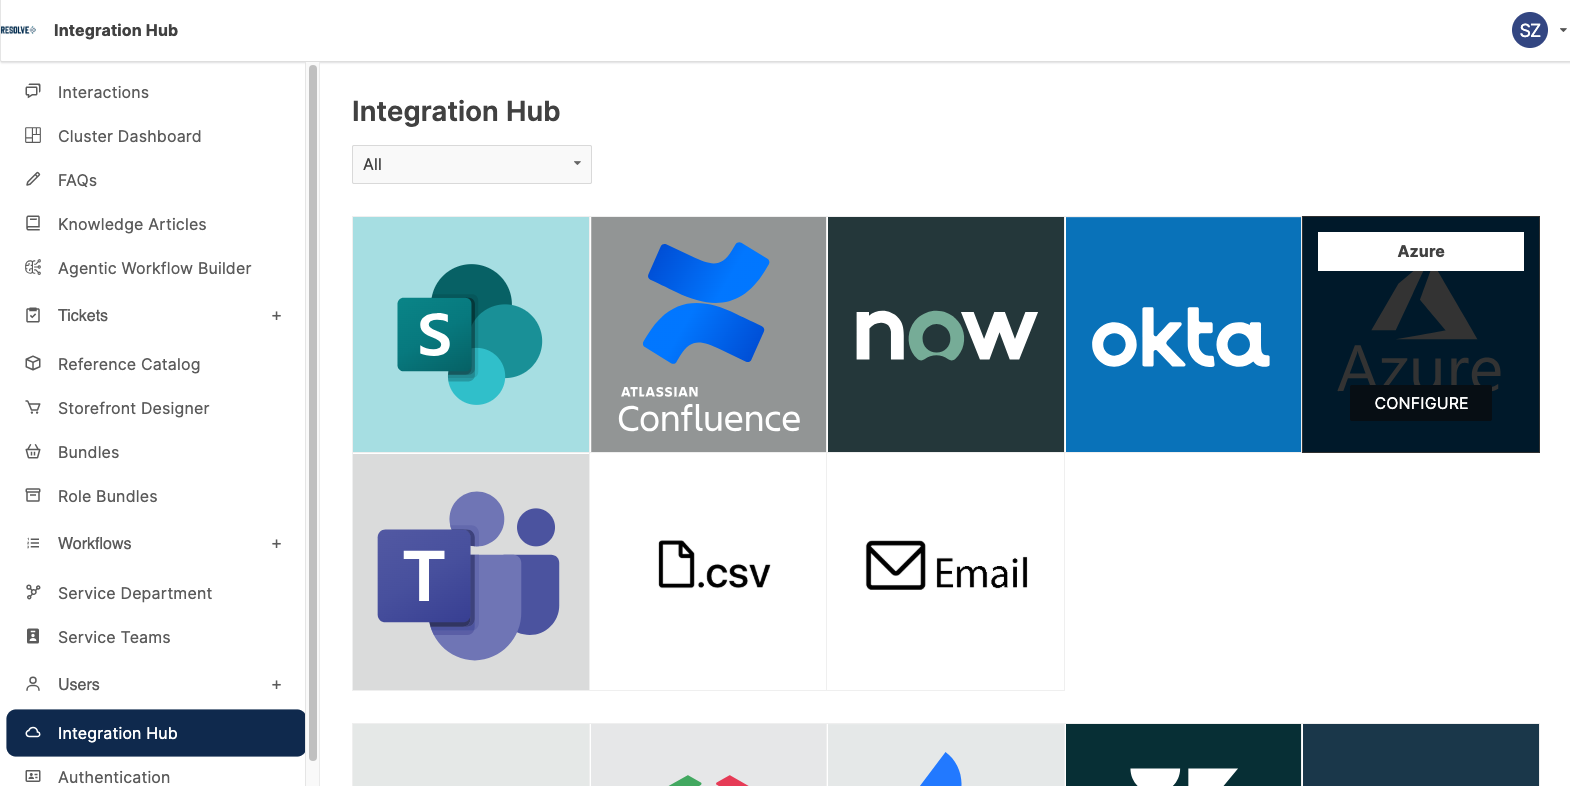
{tenant}.espressive.com/admin - From the side panel, select Integration Hub.
- Locate the Azure tile, hover over it, and click Configure.
- Open the App Registration / OAuth tab.
- Click Edit in the top-right corner.
- Enter the following information from the Creating an App Registration in Microsoft Entra section.
- Name: Display name of your app registration (e.g.,
Barista-[TenantName])
This name is used to identify the authentication method in the next step. - Client ID: Application (client) ID from Azure
- Client Secret: Secret value from Azure (not the Secret ID)
- Tenant ID: Directory (tenant) ID from Azure
- Expiration Date: Expiration date of the client secret
- Click Save.
note
If a Client Secret Expired banner appears, the stored secret has expired. To resolve this:
- Generate a new client secret in Azure (Certificates & secrets > + New client secret).
- Copy the new Secret Value.
- Return to this page, click Edit, and update the Client Secret and Expiration Date fields.
Verify Azure Authentication Engine
Required Role: Barista Admin
-
From the side panel, select Authentication (under Integration Hub).
-
Review the list of Authentication Methods.
Locate the method where the Authentication dropdown matches the name configured earlier (e.g.,
Barista-[TenantName]).If you have multiple authentication methods:
- Click View Integration Settings to navigate directly to the corresponding integration.
- Authentication methods are evaluated from top to bottom.
- Ensure the Azure method is listed after Default Local Backend to preserve local admin access.
- Use the arrows to reorder methods if needed.
-
Ensure the Azure authentication method is enabled. If it is not enabled, toggle it on.