Configure Barista Connection to ServiceNow
Connect Barista to ServiceNow
note
All steps in this section are performed by a Barista Admin.
Navigate to Connection Settings
- Login in as a Barista Admin at
{tenant}.espressive.com/admin. - Select the Integration Hub from the side panel.
- Hover over the ServiceNow card and click Configure.
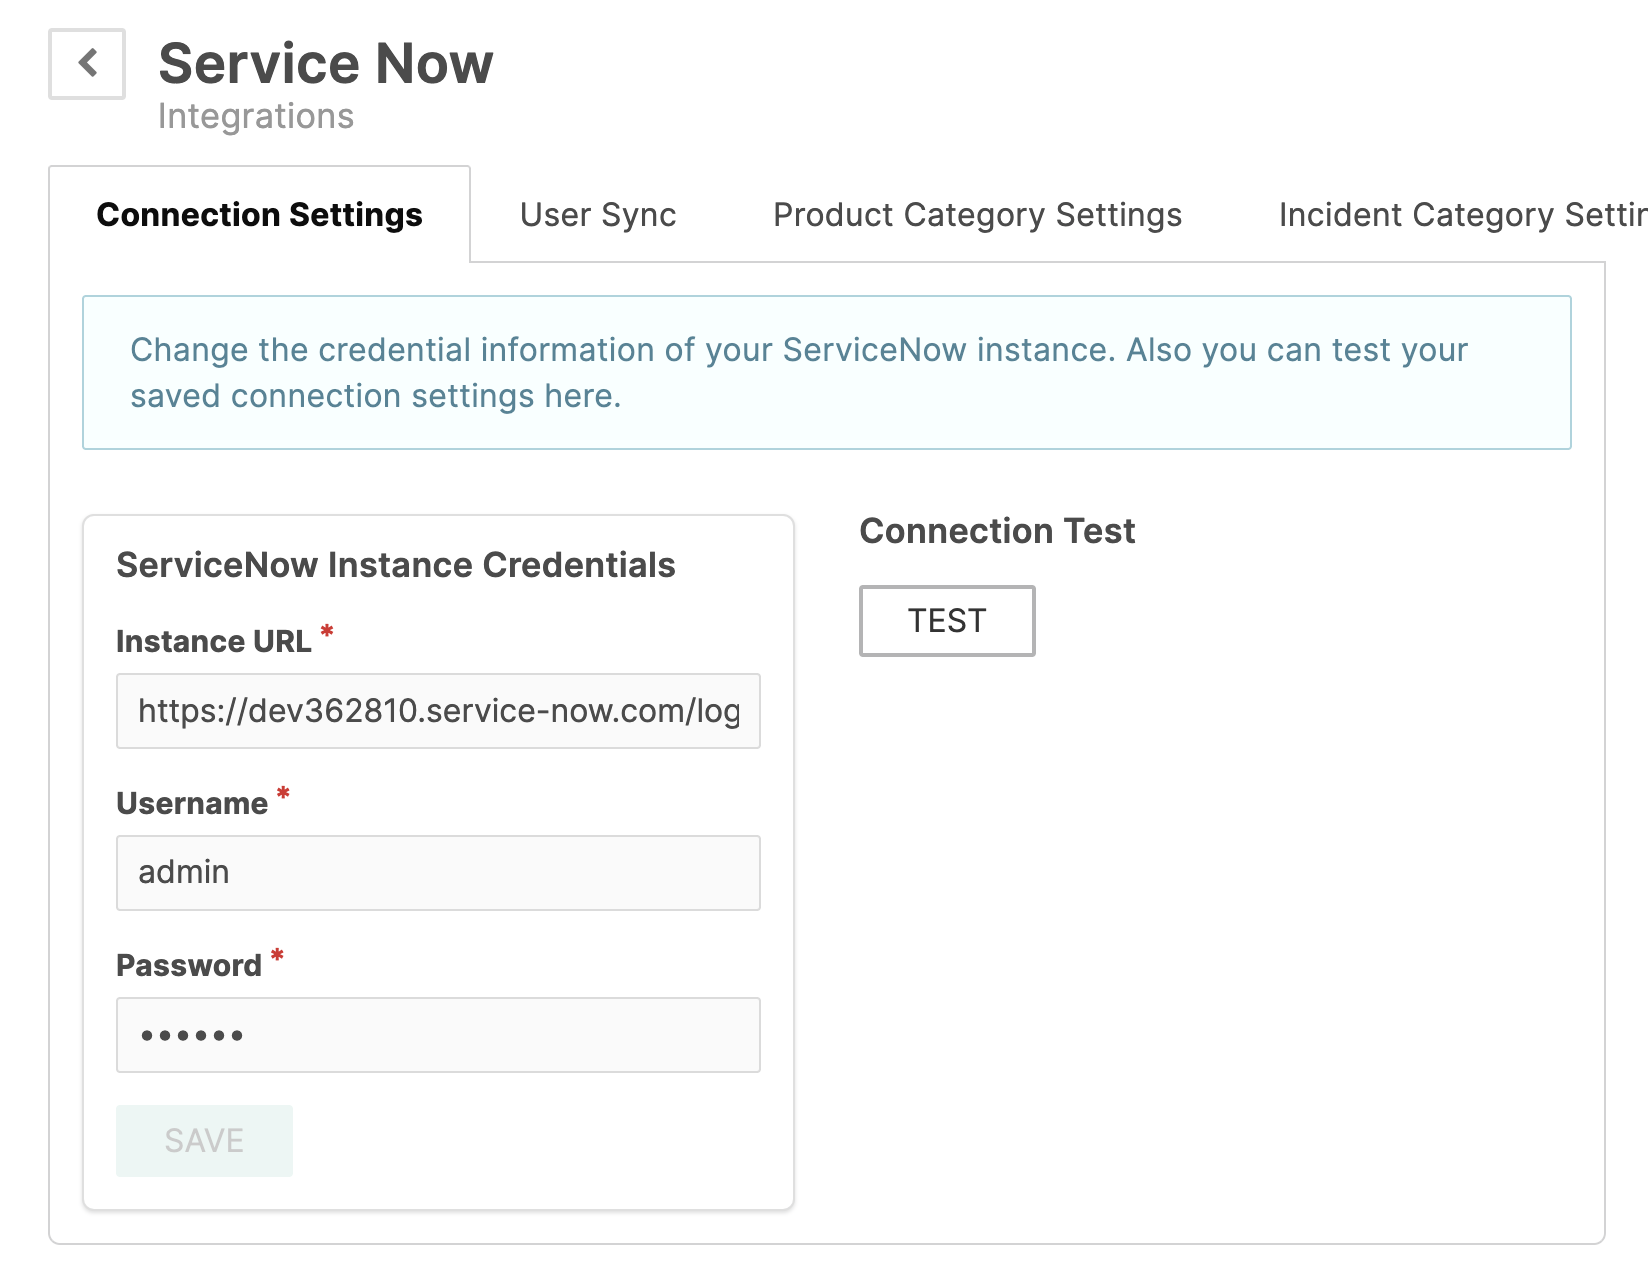
- Click the Connection Settings tab.
Configure Connection
- Enter the following:
- ServiceNow Instance URL:
https://[instance].service-now.com - Username:
esp.integration - Password:
[password from Configure ESP Integration User step]
- ServiceNow Instance URL:
- Click Save.
Test Connection
- Click Test button next to the Connection Settings.
- Wait 5-10 seconds.
- Verify the success message appears.
note
If the test fails, wait 1-2 minutes and retry. If the connection is still unsuccessful, verify that all previous steps were completed correctly.
Sync ESP Integration User
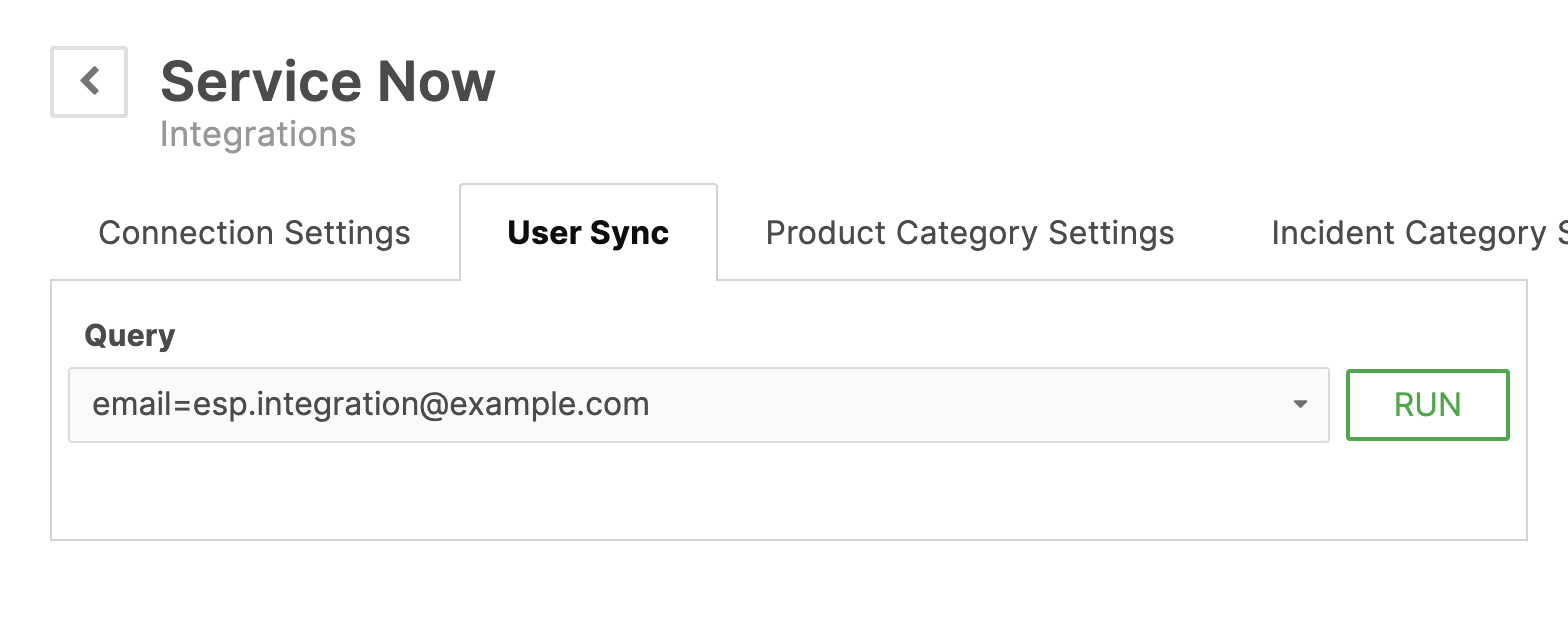
- Navigate to the User Sync tab.
- In the Query field, enter the email used for the
esp.integration. (Example:email=esp.integration@example.com) - Click Run.
- Review verification and click Yes.
- Wait 10-20 seconds for the sync to complete.
Configure ESP User in Barista
- Go to Users > List as a Barista Admin.
- Search for
esp.integration. - Click View to display user details.
- Click Edit.
- Configure the following:
- Administrative Permissions > Role:
Admin - Control Center Authentication > Password:
[same password as ServiceNow]
- Administrative Permissions > Role:
- Click Save.
Configure Service Teams and Department
Add Service Teams
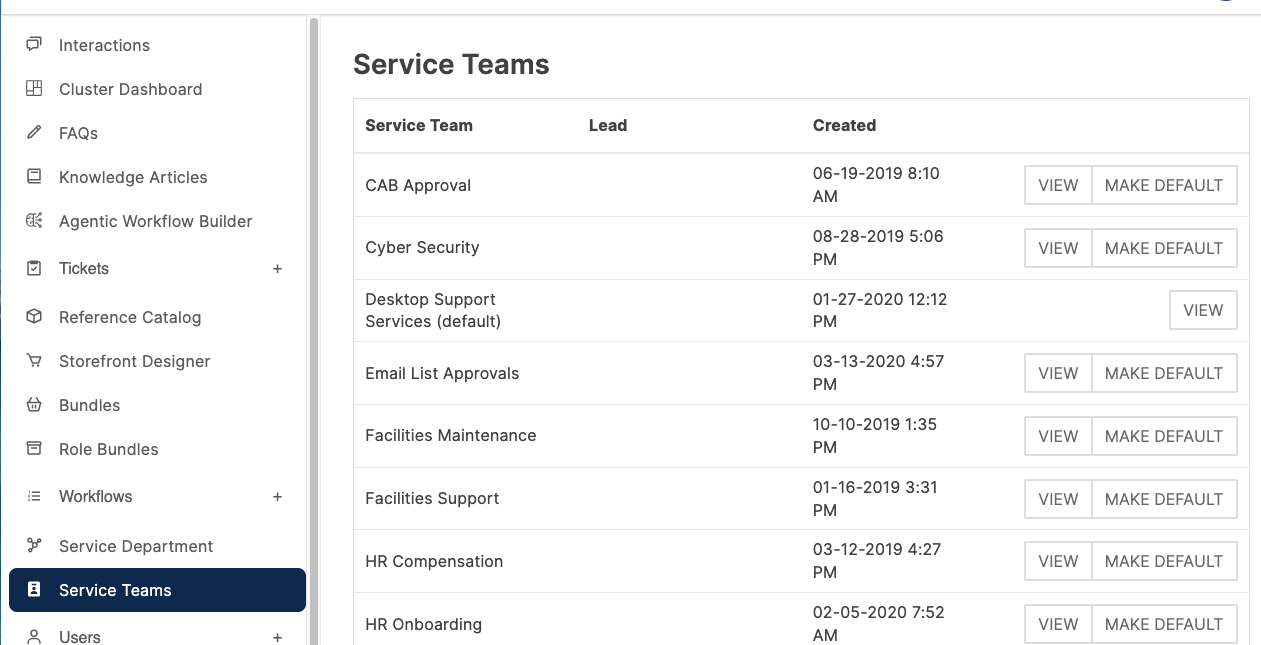
- Click Service Teams in the left menu as a Barista Admin.
- Locate Default service team and click View. You may notice that some service teams have a Make Default option, while one only has a View option. The service team that only has the View option is the current default service team.
- Click the Team Members tab.
- Click Invite Member, search by name, and select the role (Service Lead or Service Agent).
- Click Save.
- Repeat for additional team members as needed.
Configure Routing in Barista
- Click Service Department in the left menu as a Barista Admin.
- Locate Default service department and click Edit. The default department is the one that cannot be deleted.
- Configure routing:
- In the Route tickets to: dropdown select
Both - Technical Contact: select a technical contact or the ESP integration
- In the Route tickets to: dropdown select
- Click Save.
- If unable to save, ensure a technical contact is selected.
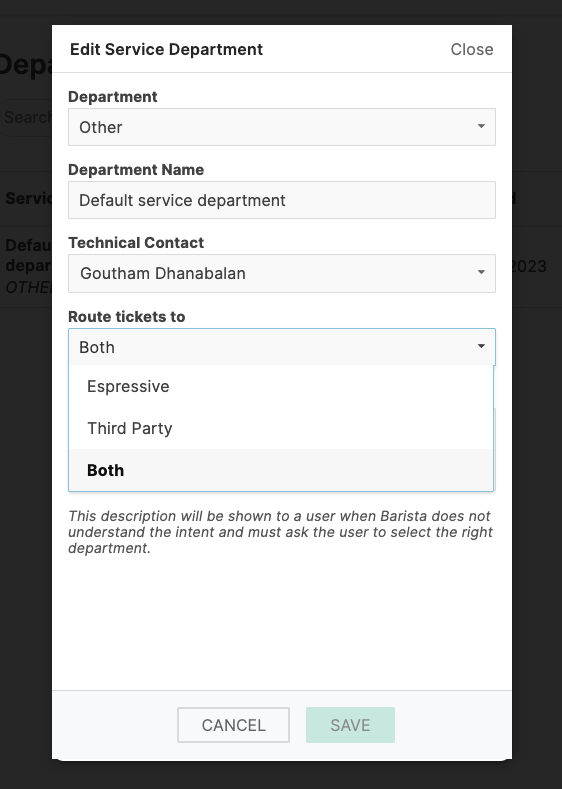
note
Both routing creates a local ticket in Barista and a corresponding ticket in ServiceNow, allowing tracking in both systems.